I’m so happy to share my basement renovation. If you recall, I posted a review of the projects I completed in 2019 in a blog post earlier this year. In that blog post, I expressed that I would take on my basement renovation in 2020. Let’s just say it’s the behemoth project, and I now know that I am not equipped to manage such a project. Because I consider myself a smart individual, I have decided to hire a contractor to bring forth my vision.
Planning Process
Last summer I worked with a professional engineer to assist me with the design and development of the architectural plans for this space. He also developed the plumbing, mechanical, lighting, and electrical plans. Basically, this was the best money I could have spent since I could easily share these with contractors who were providing estimates.
Over the past couple of years, I have learned that having a vision is critically important when you outsource a project. If you do not have a vision, the contractor could easily decide what your space will look like. Don’t get me wrong, I always solicit their professional advice for ways in which they can easily create the space I desire.
Basement Renovation Plans
Below are the initial plans for my basement renovation. Instead of leaving the space wide open, I decided to create specific spaces based on how my family would use the space. As you can from the plans, we created a large open space to be used as a recreation room or living area. In addition, we also carved out a media room and a basement gym. These spaces were very important to my family, so we were willing to give up an open concept living on this level of or home.
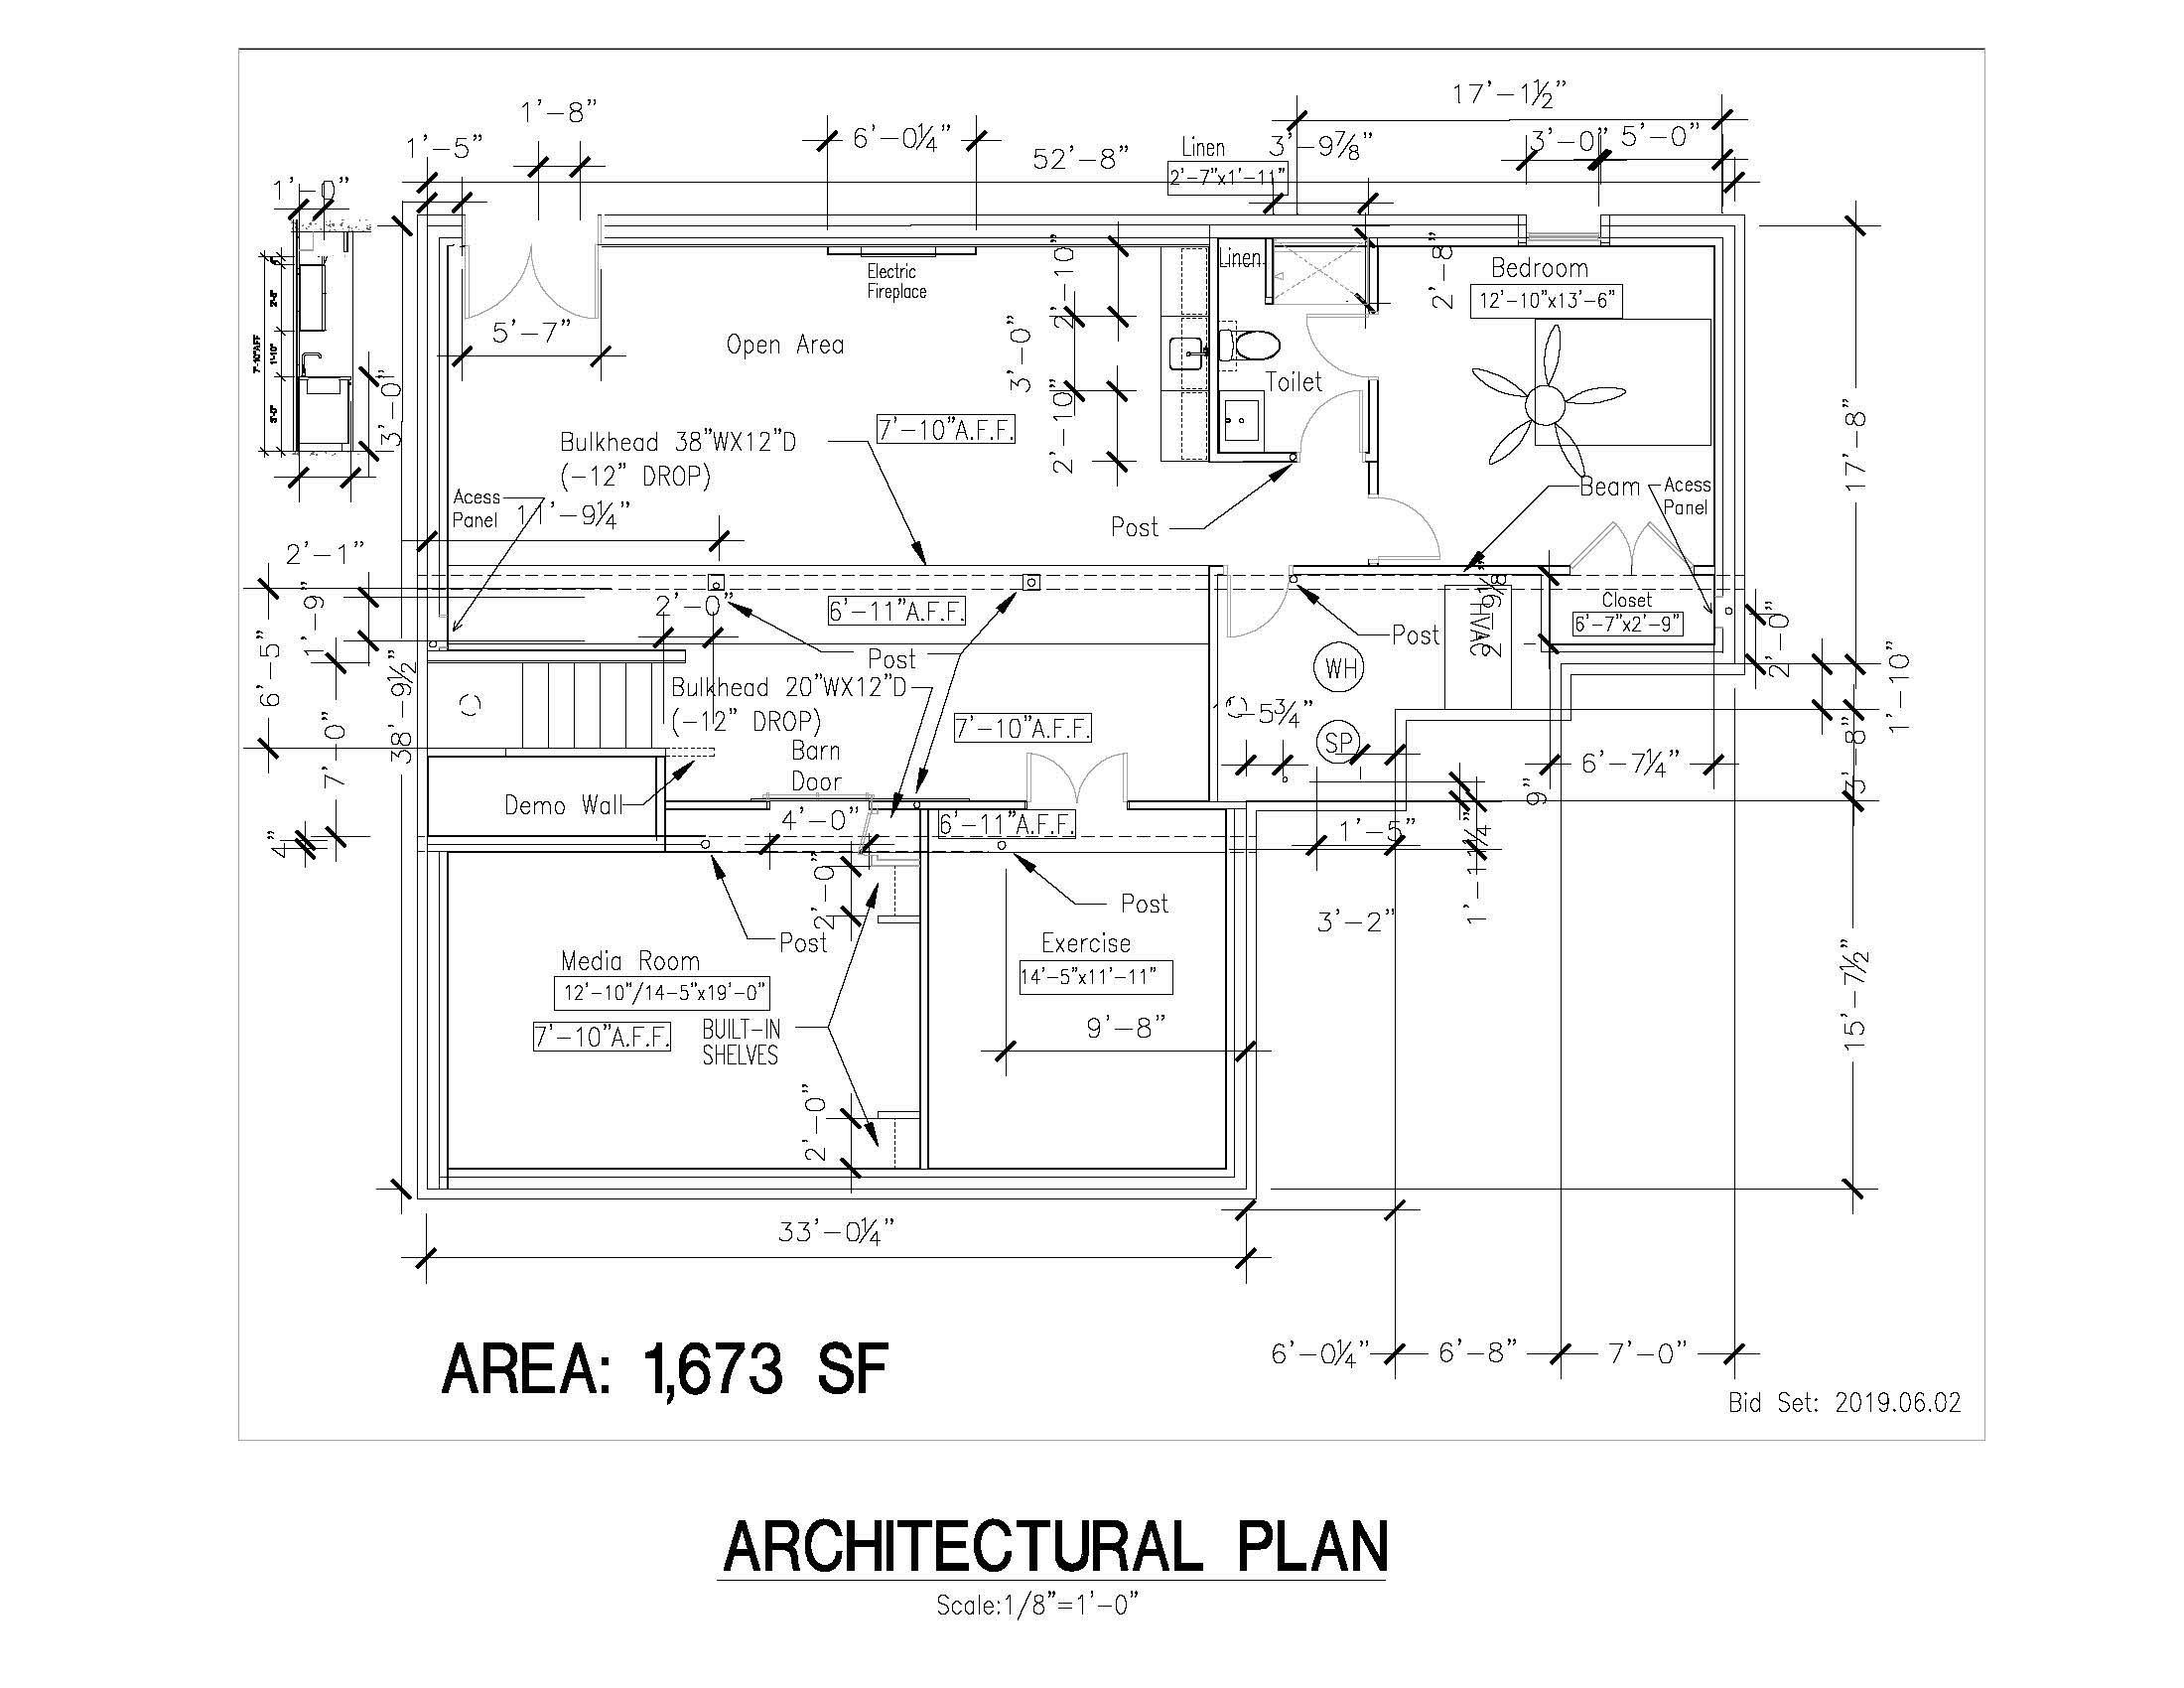
We also created a mechanical room which houses all of the heating/air conditioning system, hot water heater, networking equipment, sprinkler system controller, and the alarm system panel. Furthermore, we planned a small three piece bathroom and a large storage area. I am unable to use this space as a bedroom since I do not have an egress window. In the near future, I will install an egress window and convert this space into a bedroom suite.
Basement Renovation – Before Pictures
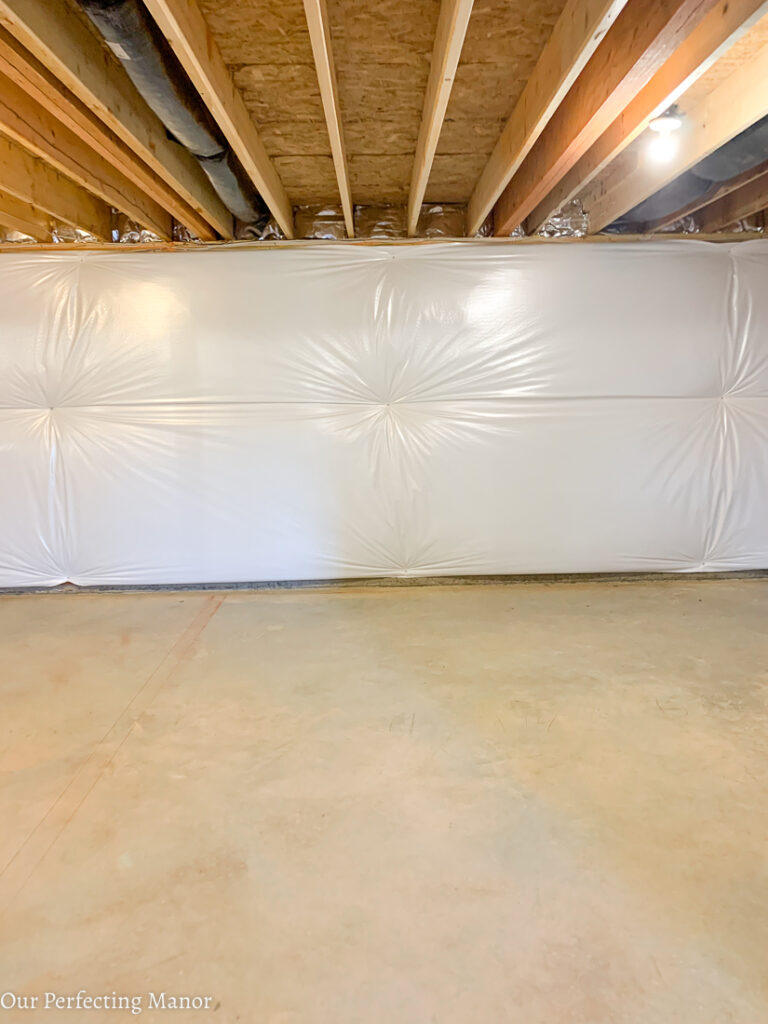
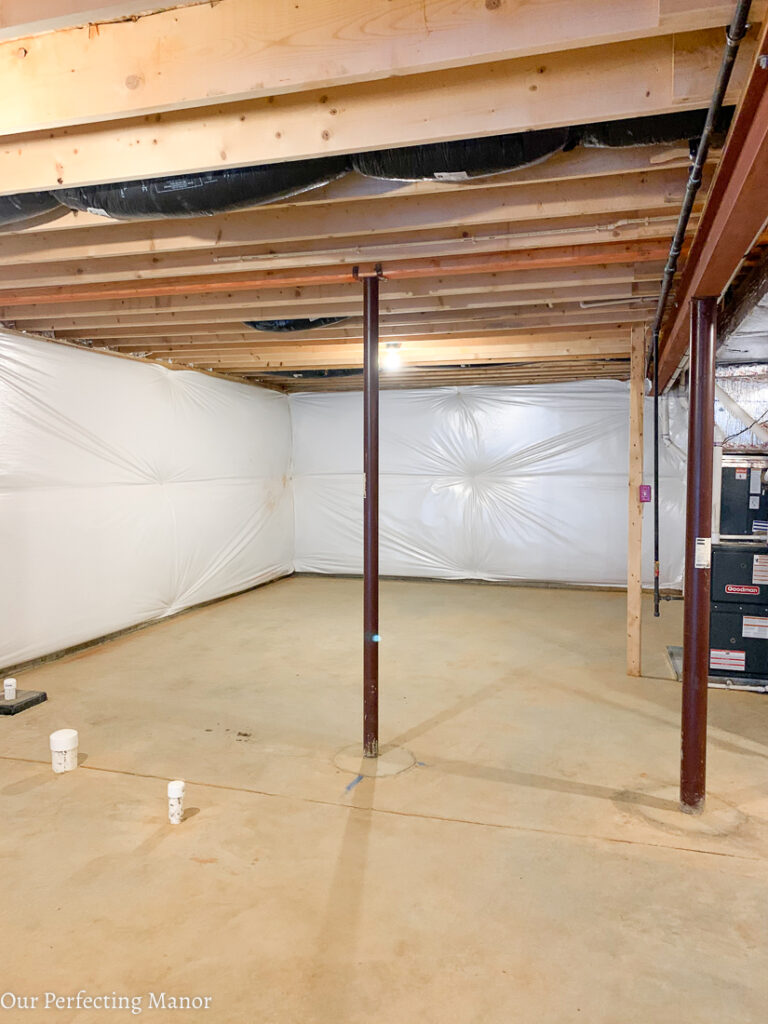
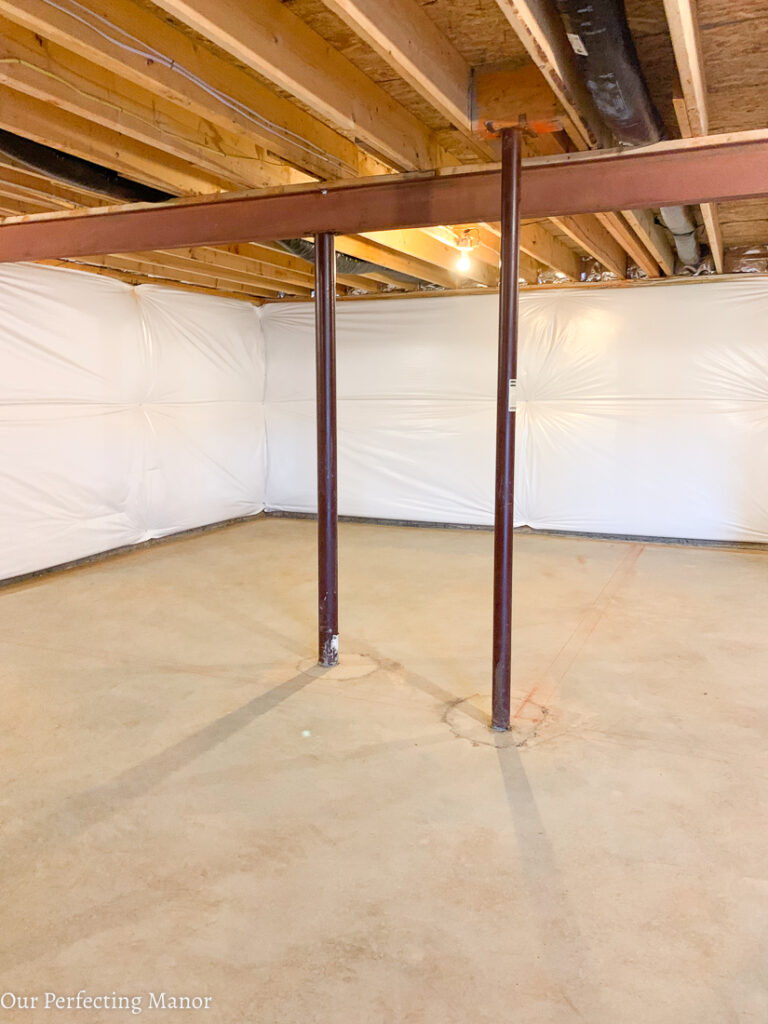
My contractors have started the project, and we are currently in week three of the basement renovation. Yesterday the drywall was installed, so things are really started to look like livable space. See below the before pictures of my unfinished basement. Comparatively, the basement was an open space with just concrete walls and insulation. There were also lights that the builder installed to meet code; however, it was pretty basic.
Basement Renovation – Inspiration
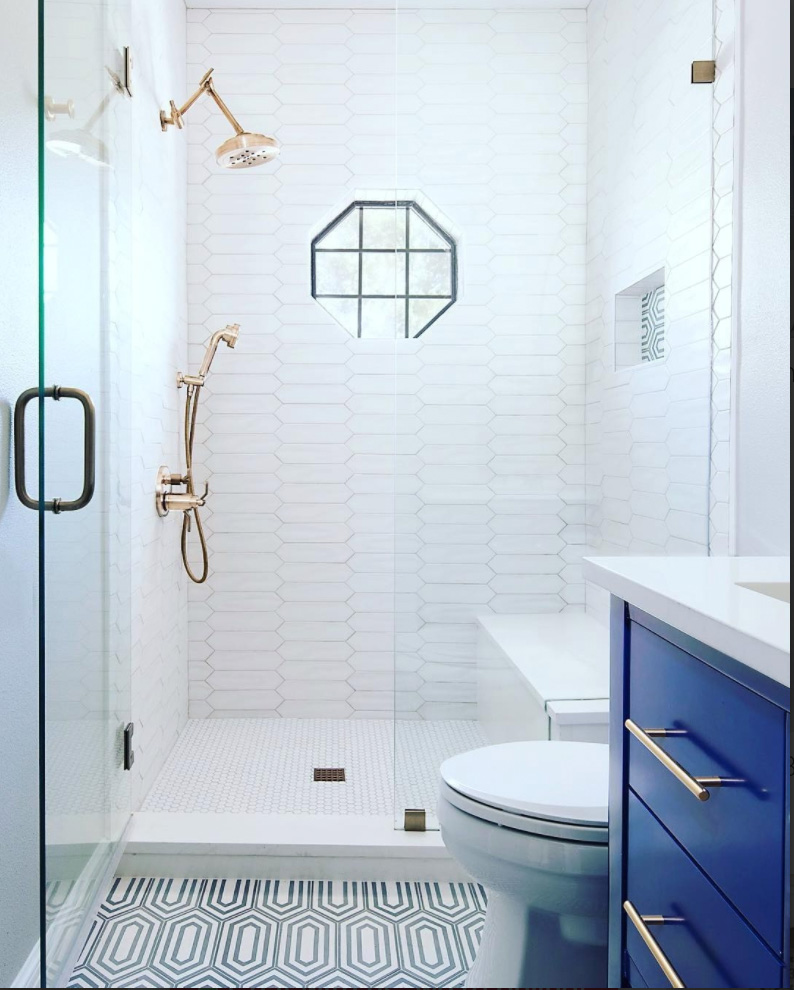
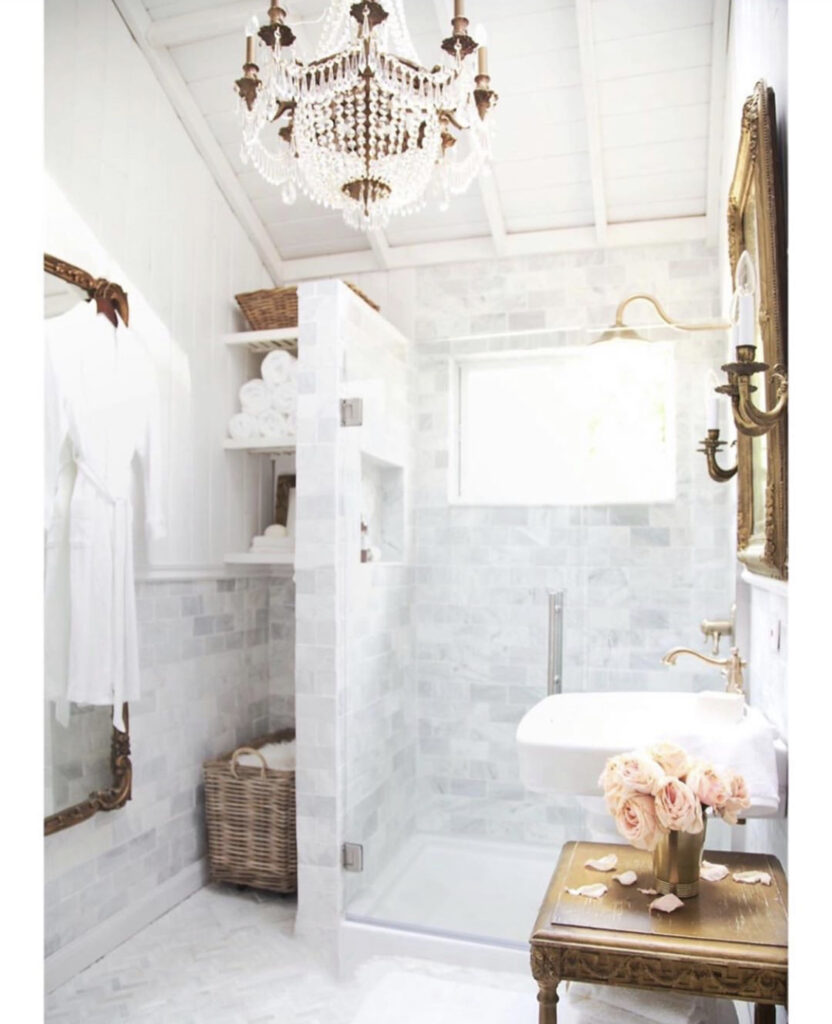
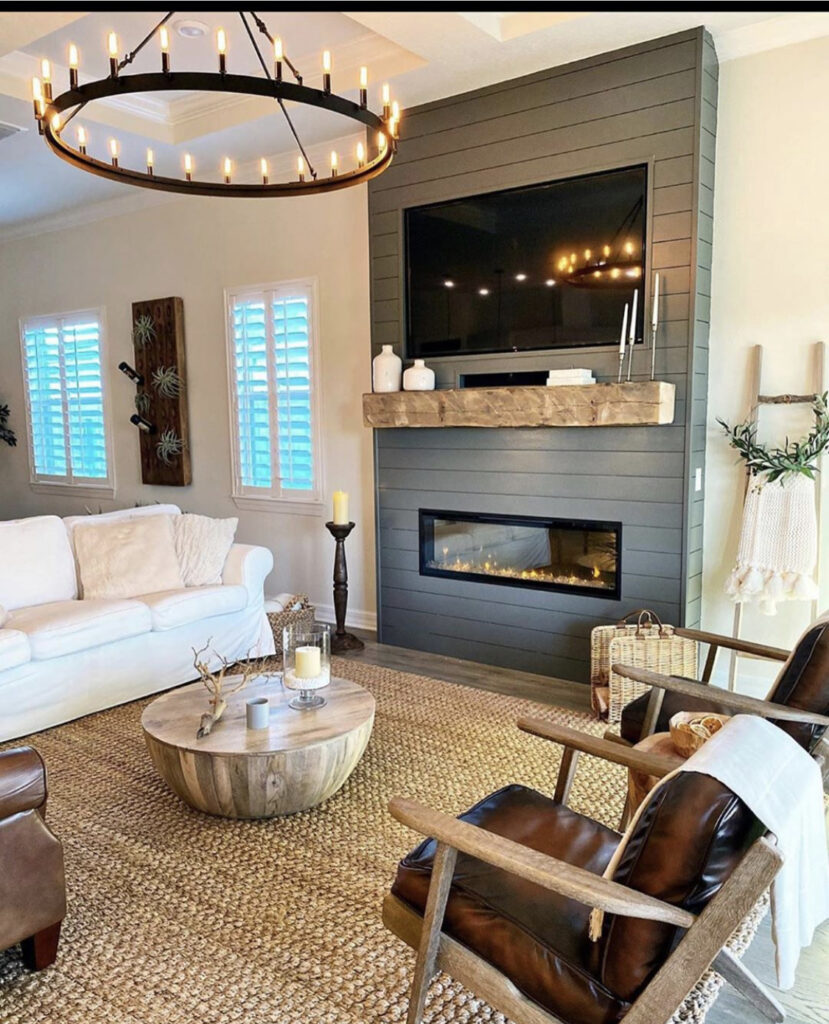
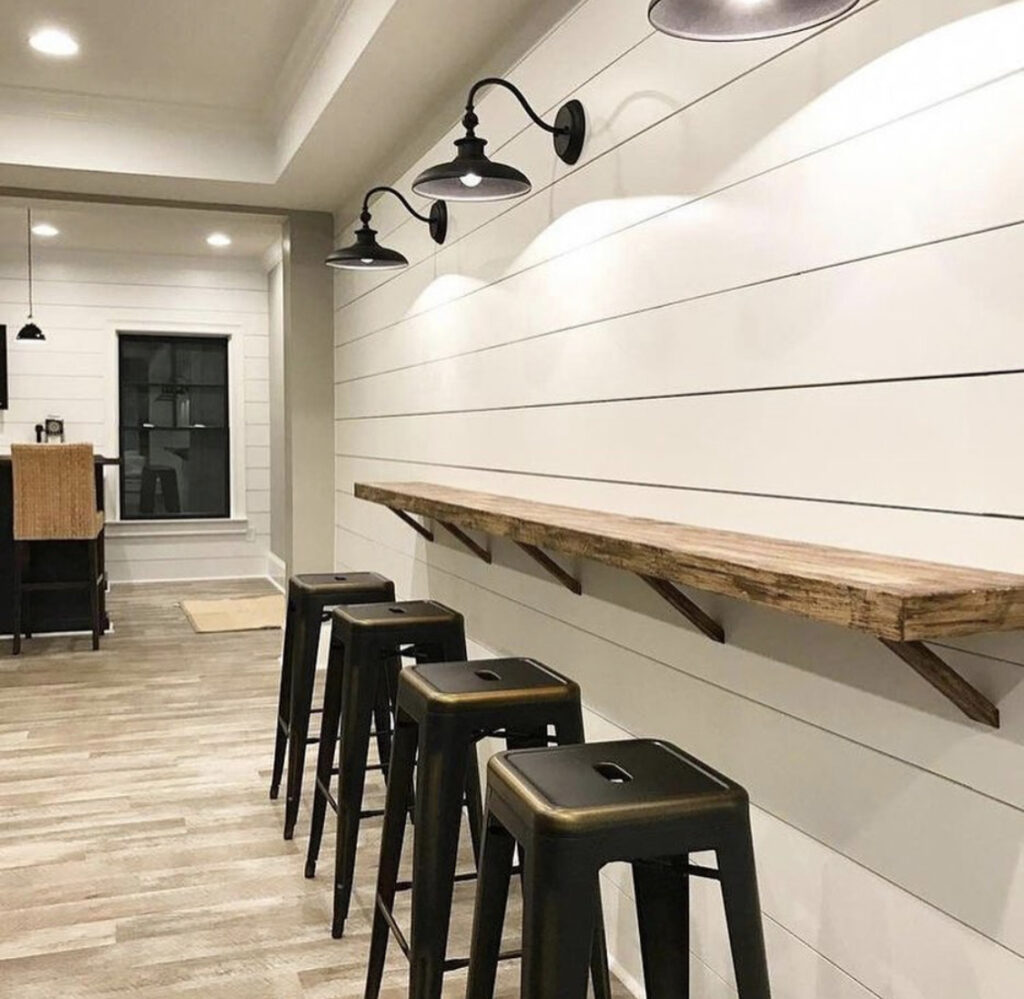
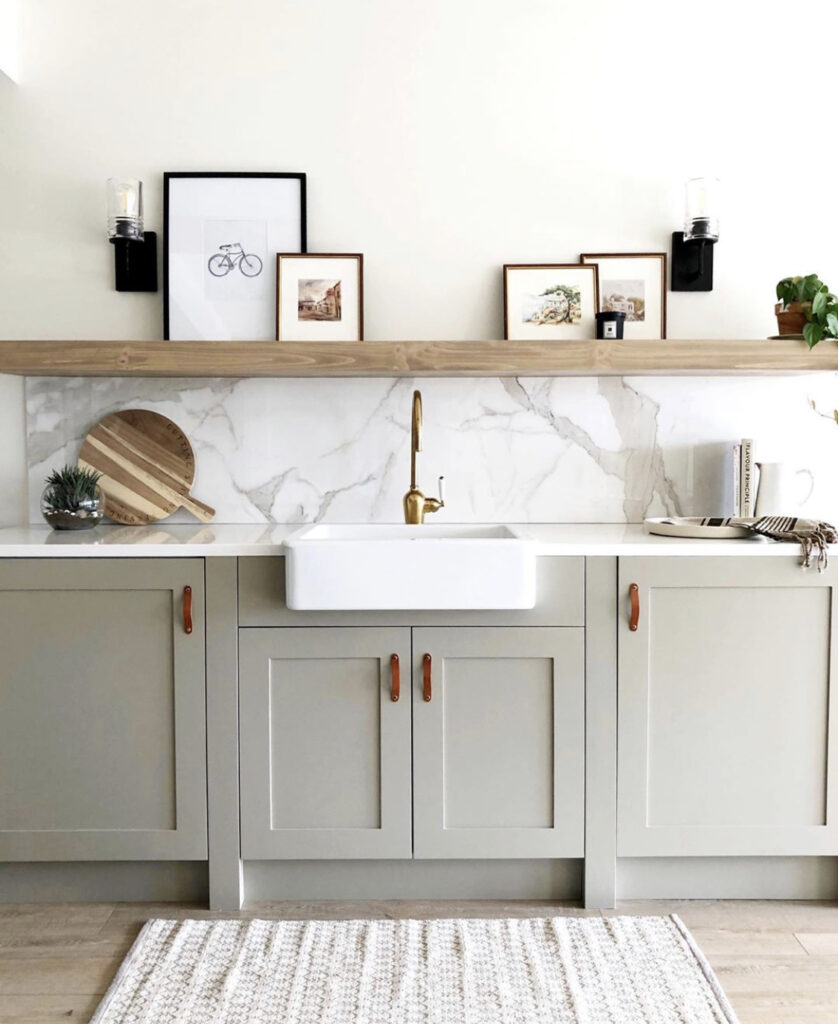
Meanwhile, I have been busy finding inspiration on Instagram and Pinterest for the finished look of my basement. Since I do not have a lot of natural night, I want to create a very light and bright palette for this space. Of course, I will continue my black and white palette with a pop of color.
Basement Renovation – Weekly Progress
Week 1 – Framing and Electrical
During the first week, the contractors began framing the basement. We ran into a few inconsistencies in the plans versus the contractor’s measurements. Despite the issues, we were able to de-conflict them pretty easily and move forward with the framing.
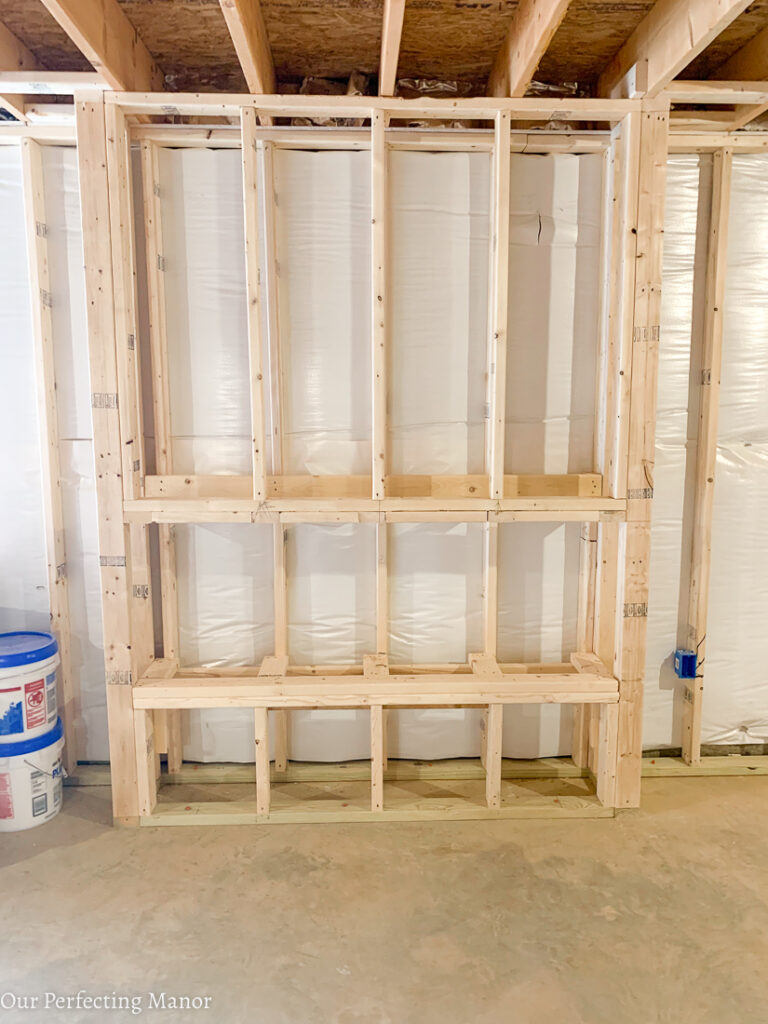
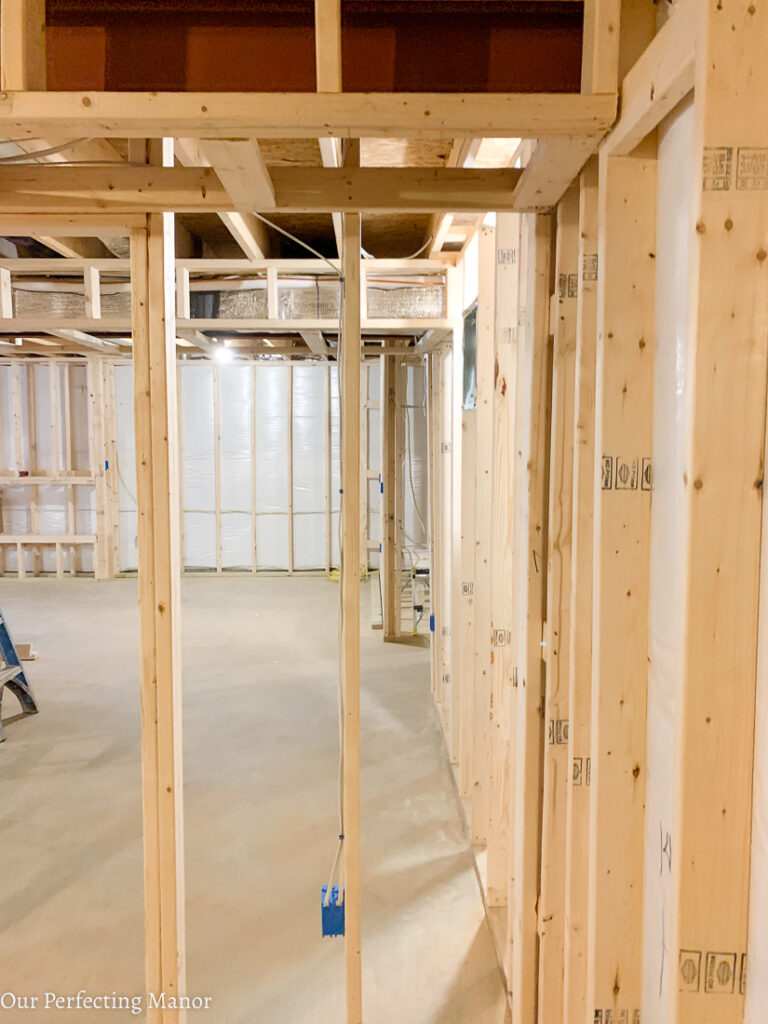
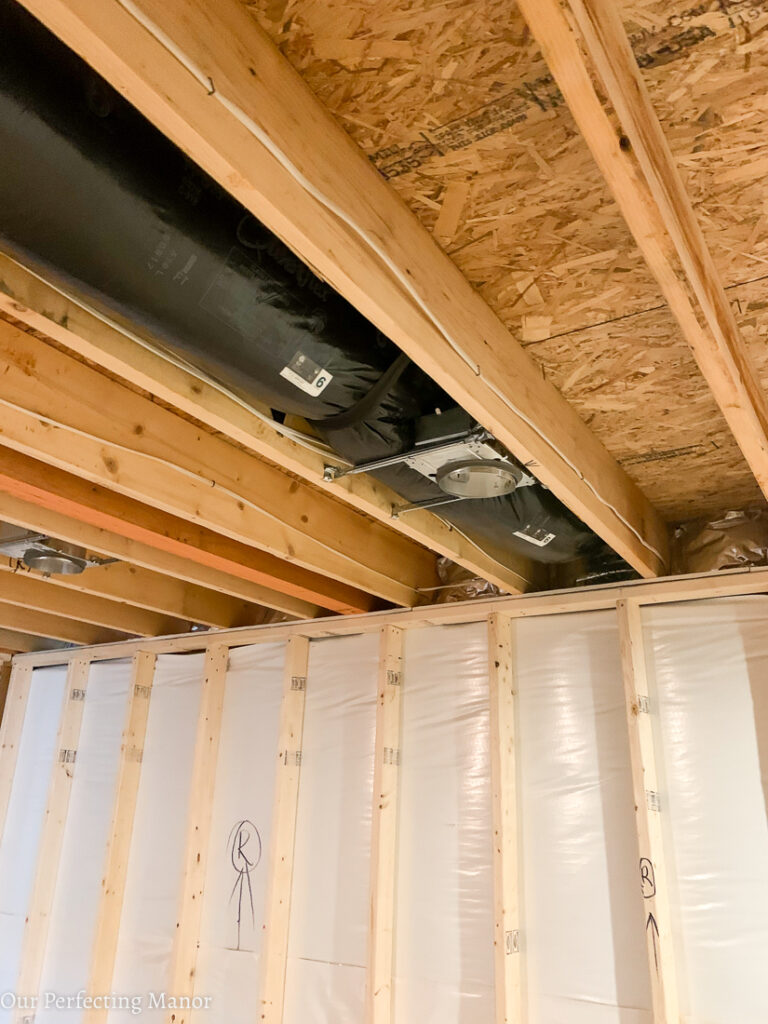
During the framing, the contractor also had to install drywall that served as fire blocking throughout the entire basement. The purpose of fire blocking is to prevent a fire from spreading to the upper floors. Framing and fire blocking took roughly a week.
During the latter part of the week, the electrician came in to install all of the wiring for the outlets, lighting, wall switches, and smoke detectors. Afterward, he installed a new electrical circuit to handle the entire basement.
Week 2 – Plumbing, Mechanical, and Ceiling Insulation
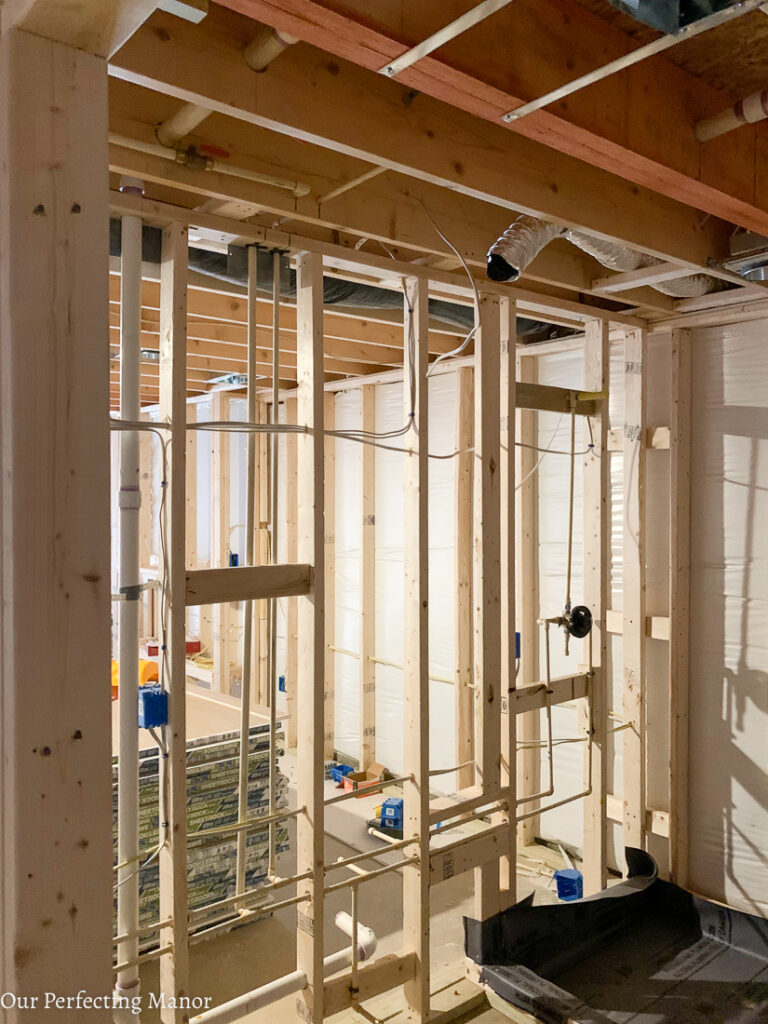
Once the framing was completed, the mechanical work started. This consisted of bathroom ventilation, new supply ducts, and air intakes.
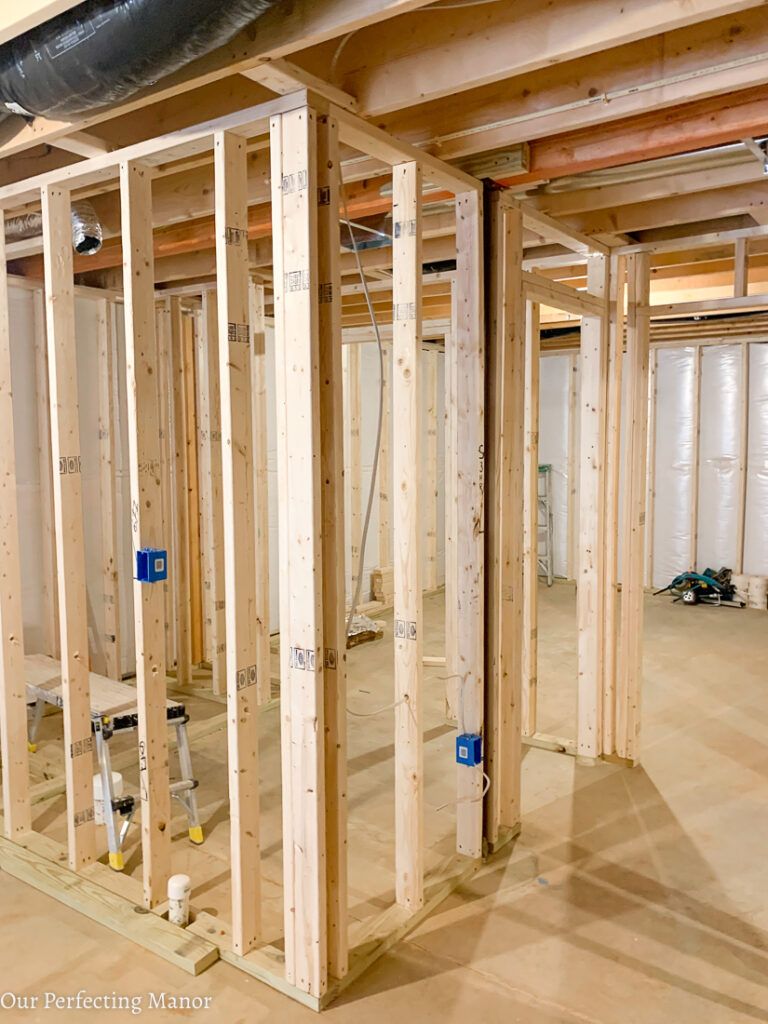
Finally, the plumber came in to connect the existing drain and vent lines to complete the rough-in plumbing. This included breaking up concrete to connect new drain lines to the existing line under the basement.
Week 3 – Remaining Plumbing, Insulation, and Field Inspections (All Trades)
This week consisted of finalizing the plumbing to include the shower, toilet, vanity, and wet bar water supply lines. Since I’m going with a tile shower floor, the plumber had to prep the shower floor.
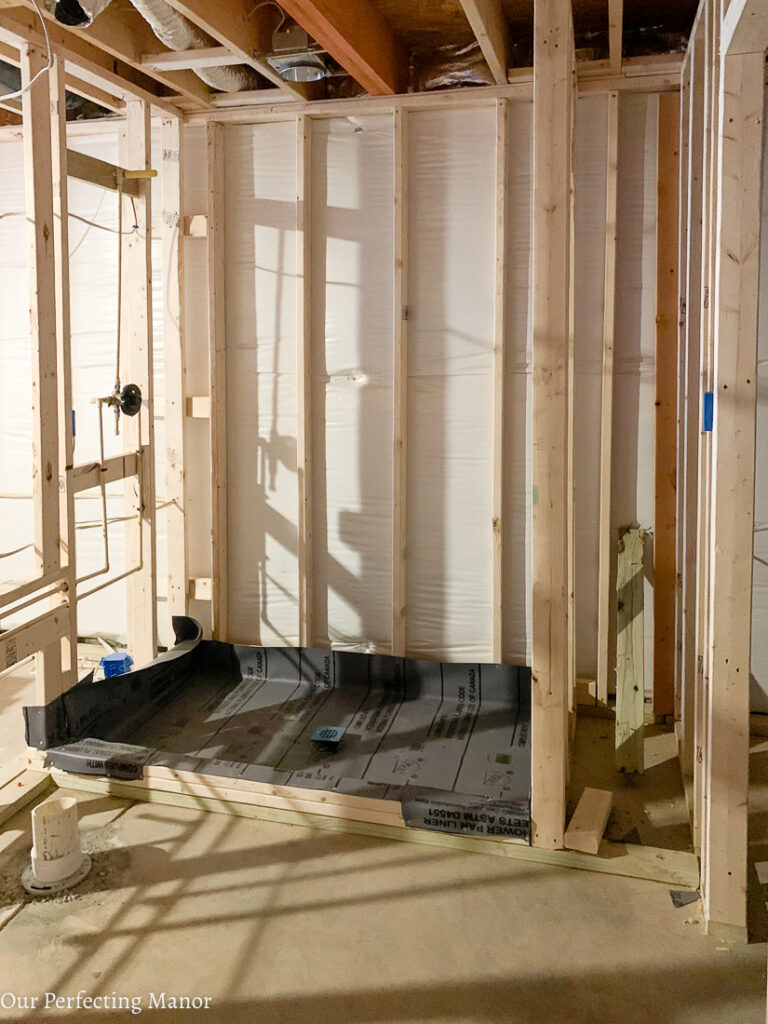
The permit was approved, and the contractor was able to schedule all of the field inspections. Although the inspections went well, there were a couple of exceptions. My contractor had to install a separate pipe for the wet bar drain and use the appropriate tape for all the mechanical duct seams/joints.
Week 4 – Tile Installation and Drywall
The bathroom tiling has been completed. They laid the shower walls and floor tiles along with the bathroom floor tiles. I really like the black, white, and gray palette that I chose for the bathroom. The only mistake was the grout for the shower walls. My contractor began grouting the tiles without checking with me on the color. Honestly, I’m not sure if he got the floor and shower wall grout mixed up or if I just purchased the wrong grout. In the end, it all worked out, so I won’t complain.
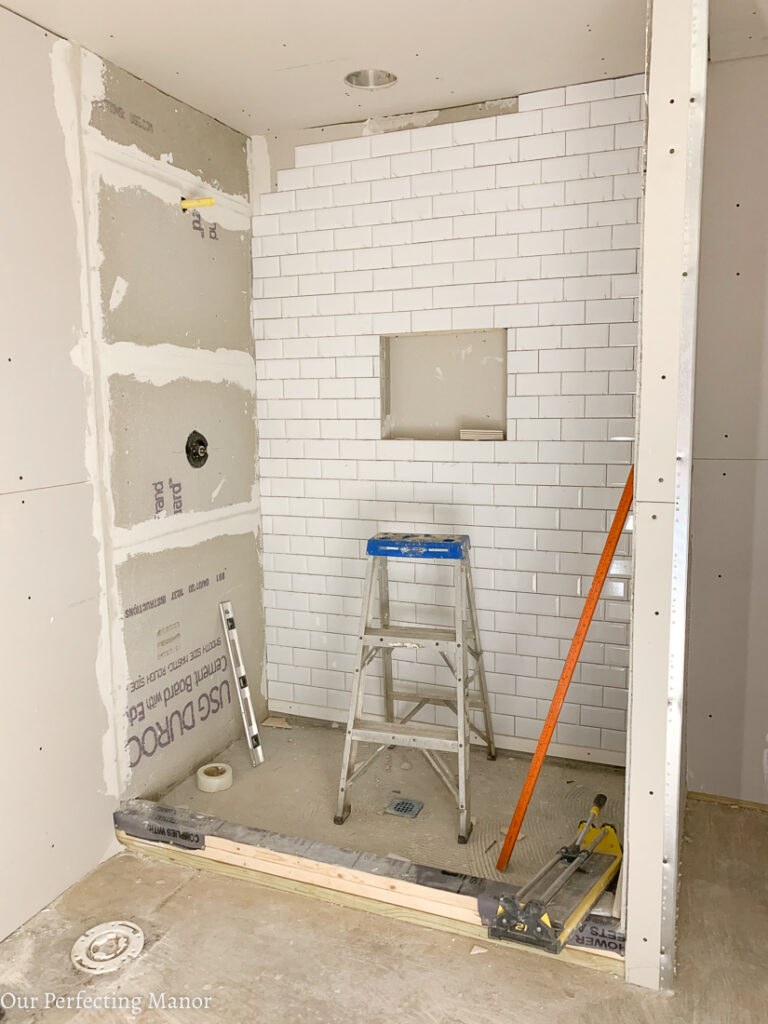
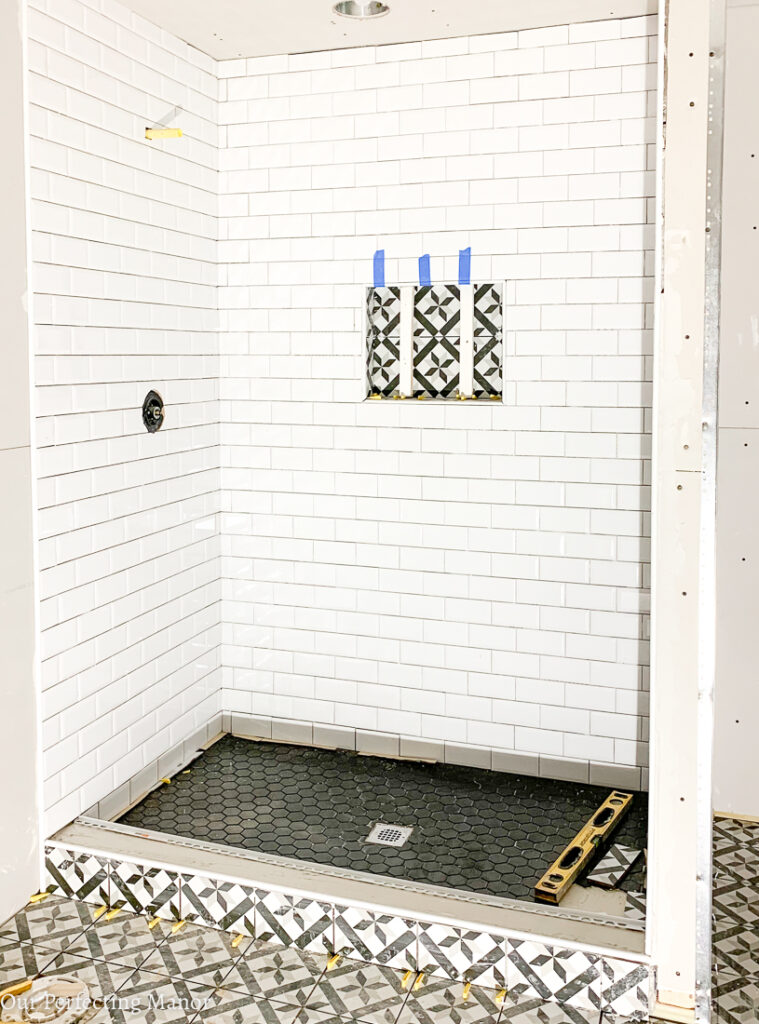
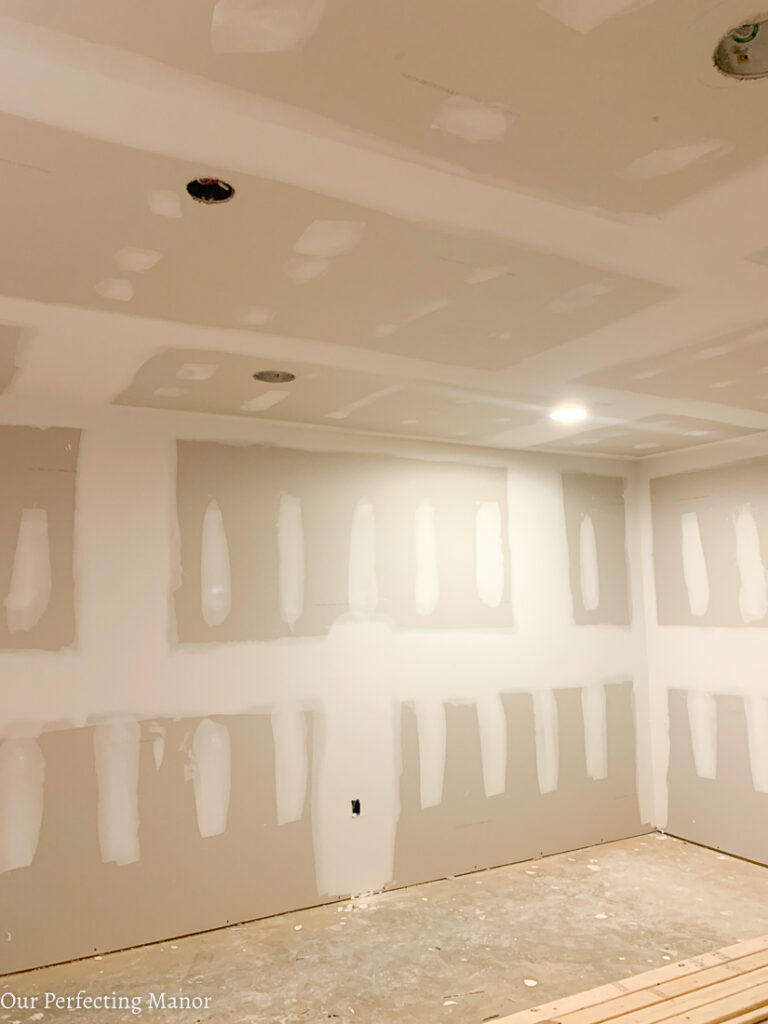
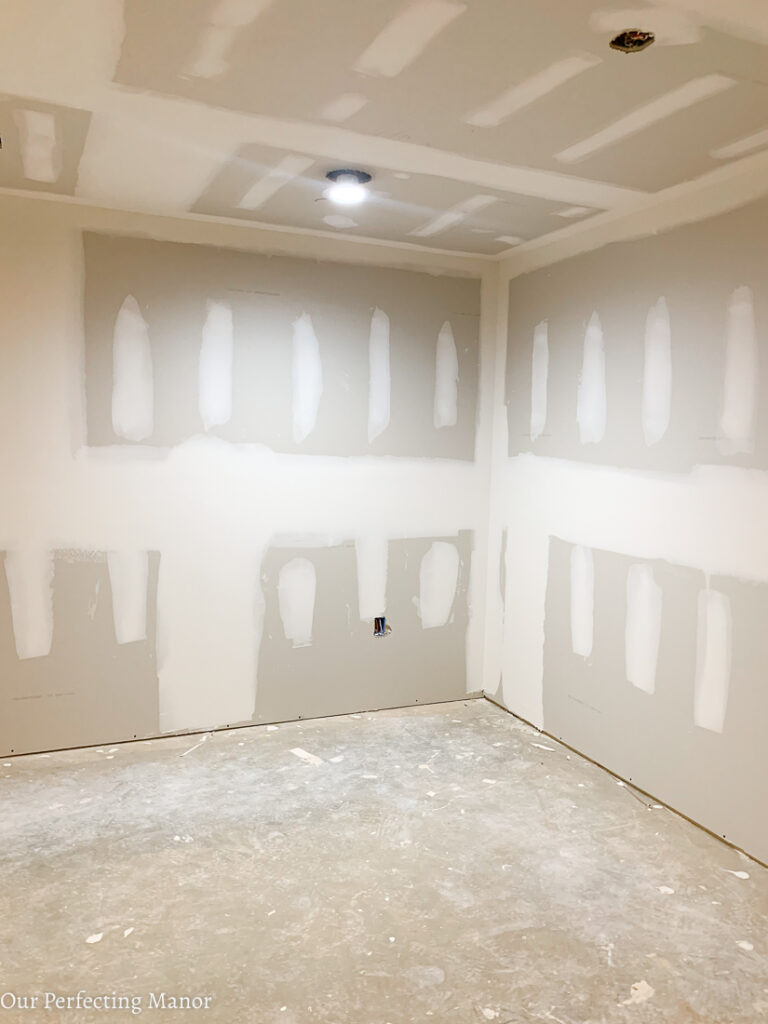
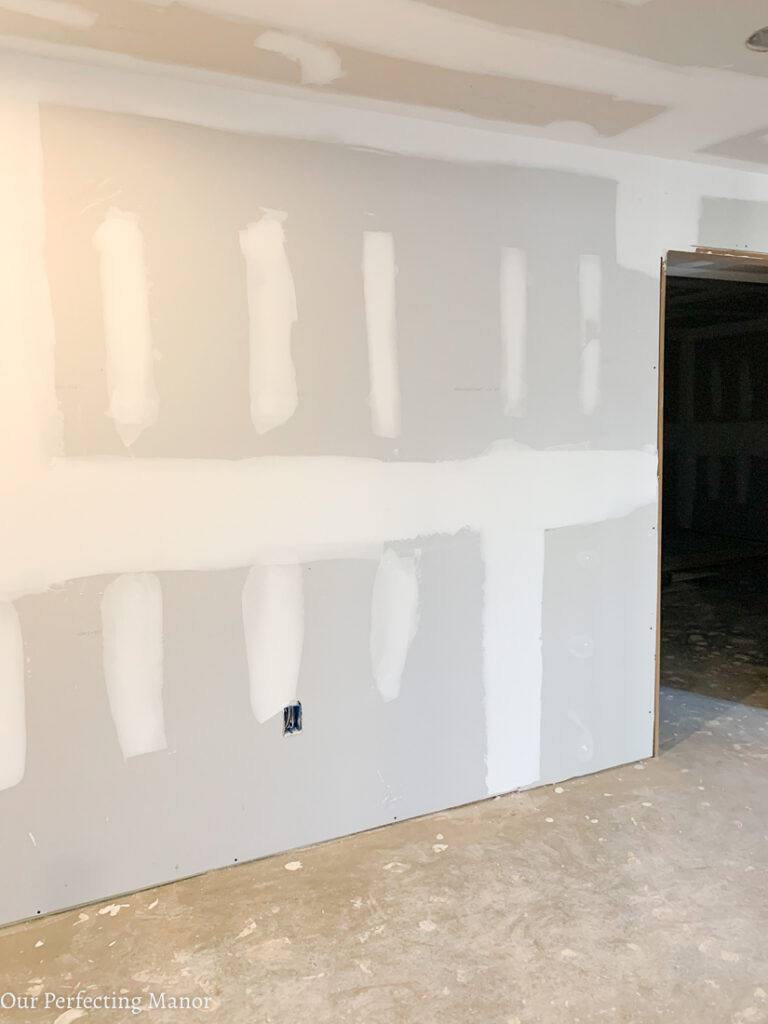
So, this photo brings you up to date on the progress. The drywall was installed on Monday of this week, and it literally took only one day (with two contractors). For the remainder of the week, the contractors applied drywall mud (3 coats). So next week is all about sanding which is my least favorite part of any renovation. Generally, sanding means that we’re getting closer to the finish line, so I will accept the inordinate amount of dust that will show up next week in my home.
I’m really happy with the progress and the timeline so far. Indeed, I am hopeful that things will pick up very quickly over the next week, and I’m super excited to bring you along on the journey.
Over the coming weeks, I will post sneak peeks of the basement renovation on my Instagram account. So click here to follow along with me during the transformation. You can also subscribe to my blog here to get notification of new posts via email.
If you’re excited to join along on this renovation with me, please leave me a comment below!


Janice I love all the you have broken down each necessary set that it takes from beginning to end. I can’t wait to see the end results
Thank you Malisa. I really wanted to share my experience with having a contractor finish my basement.